DIY Guide: How to Inspect Your Roof
It is important to conduct a roof inspection on a regular basis. You may have wondered if your roof needed some maintenance but never knew what to look for. Here are some quick tips to get you started on a roof inspection.
Paperwork
Before you begin scanning you roof, find your files first. The paperwork will provide you with a better understanding of what is to be expected. Do you have the paperwork required or a copy of the warranty? If inspectors, roofing contractors or architects have done work on your roof in the past, do you have their names and phone numbers? Is there a scale drawing of the roof showing the locations of previous leaks, repairs, vents, furnace stacks etc. on the roof?
Interior Inspection
Your next step is to do an interior inspection of the home. Walls and glazing inside the home should be checked. Walls and sealants may be the cause of potential leaks, but are easily disguised as roof leaks. Things to look for are cracks, water stains, bubbles and bulges in the drywall. Pay special attention to pipes, conduit and wiring which penetrates through walls. These areas may have been left poorly sealed or unsealed, especially when installed as retrofits.
The Outdoor Roof Inspection
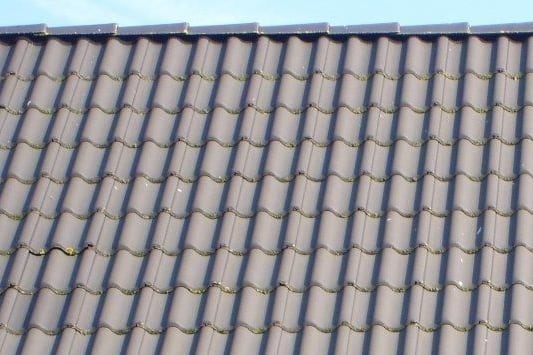
Take a look at the overall roof. Is there debris such as leaves, plants and twigs on the roof? These are signs that your roof requires a little more loving. This type of stationary debris is a great place for problems to start. It allows moisture, mold and moss to take hold.
If the roof has a granular coating, (such as asphalt shingles) is it intact? Is the gravel coating evenly distributed across the surface of your roof? This coating protects your roof from the sun’s ultraviolet radiation. Loss of coating is one of the most common reasons asphalt shingles begin to age and break down.
Take a look at the drainage system to see if there are areas of standing water. A possible cause of this is debris and slug that is stuck in or around the drains. If left long enough, standing water can pull the chemicals from your roof that keep it pliable. Over time, the water will begin to seep through. Damage can range from minor drips to wet, moldy insulation resulting in health risks.
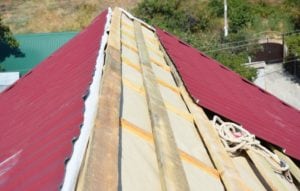
Pay special attention to details such as changes in the membrane and metal. Be mindful of any material that has been penetrated, or is beginning to dip. Are there punctures, tears or scrapes in the membrane?
Check for unsealed laps in the vertical part of the flashing and also where the flashing terminates on the field of the roof. Improper flashing installation, with improper adherence to the wall, is the most common cause of leaks.
Look for diagonal wrinkles in the flashing. This is caused by the roof deck and wall moving independently of one another. Eventually these wrinkles will manifest themselves into cracks and ultimately, leaks in your roof.
Are there expansion joints running across your roof? Some roofing contractors do not terminate the expansion joints correctly, resulting in cracks at the ends. Inspect the rubber bellows for any cuts and open laps.
Finally, where there are penetrations, such as pipes, vents and equipment stands, confirm that there is plenty of pliable sealer, without cracks. Check alternate flashing for cracks, holes and failed sealants.
Follow these guidelines while inspecting your roof. Renoteck Roofing can provide all the services you need to repair any damage to your roof. Only regular inspections and maintenance will ensure a leak free roof.